Wednesday, March 4, 2015

ELEPHANT DESK GAMPEL STOLL

Fabulous unique hard to find fretwork desk manufactured by Gampel Stoll. Interested in purchasing?
Contact  kimberly@livvintage.com


Thursday, November 13, 2014

DIY Sconce

Tutorial for the sconce I made for my One Room Challenge Office Space. This is a moderately complicated DIY as it involves some power tools for drilling holes, and electrical knowledge. I utilized brass bases from lamps that I already had, but sourced possible bases if you wanted purchase some and try this at home.


SUPPLY LIST:

6 " Brass Lamp Bases (2)   You can find this one at Grand Brass 6" BRASS BASE HERE 

Hickey and (4) 1" Length of 1/8" threaded rod, (4) 1/8" nuts You can purchase   HICKEY'S HERE    You need 2 of these

Candelabra sockets (2)  found HERE

Lamp wire if hard-wiring or if plugging in 2 Lamp cords HERE,

Dowels found either at Home Depot or Lowes

5/16" x 48"   (2)
7/16" x 48"   (4)
3/8" x 36"     (7)

Gold Leaf and Adhesive Size   found at Michael's or Amazon


2 Aluminum Ridge Vent Straps found HERE

8 screws and nuts(to attach the ridge vent strap)

Spray Clear Lacquer

Epoxy ( I like quick set, just a few minutes)


MAKING THE SCONCE:

The brass base will be set on the diagonal for this project. 


  1.  Thread a 1"Long x 1/8" threaded rod through the hole in the center of the base and attach the hickey placing a lock nut on back side of base. Take another 1"Long x 1/8" threaded rod and attach the candelabra socket to the hickey. If you are not hard-wiring the sconce you need to drill a 1/8" hole in the "bottom" of your base to allow the cord to thread through hole and down the wall to your plug.
  2.  Run the lamp cord through the back of the base and wire the candelabra socket.
  3.  Attach the aluminum ridge vent to the base by drilling through the brass base using the holes as your guide. You then use screws and nuts to attach the ridge vent or if you own a pop rivet gun, rivets make a nice flush attachment to base.
  4.  Coat your dowels with adhesive size. When dry "roll" the dowel in pre-cut pieces of gold leaf paper. 


     5.  Seal the dowels with a spray clear lacquer. DO NOT SKIP this step as the gold leaf will naturally tarnish.

     6.  Cut the dowels to your desired sizes. My longest center dowels were 15" long and then I graduated the sizes according to how I wanted it to look.

     7.  Have your dowel pattern laid out prior to epoxying so it does not dry out before you finish. I used clamps at the beginning (you could use clothes pins) to prevent the dowels from moving prior to setting. Continue epoxying and layering your dowels until you reach your desired look.

     8.  Use a small wattage bulb to prevent fire hazards.

Monday, November 10, 2014

DIY Screen

Here is the tutorial for the screen featured in my One Room Challenge


Supply list:

Hollow Core Unfinished Composite Door Slab 18 x 80 (4) available at Home Depot $19.98 ea

Brass Hinges 2 1/2" $3.98 for a 2 pack. You will need 5 packs 

Square wooden dowels (I got mine at Home Depot)
3/8" x 36"   7 at $.98 ea
1/4" x 36"   8 at $1.04 ea


Epoxy Glue
Glossy Spray Lacquer Paint  I use whatever they have at the big box hardware store

Prime the panels with the black spray paint. Once dry put on 2 coats of black paint.

I chose to cut the dowels to the size I wanted, and then spray them gold. Do this so you can spray the ends to avoid raw wood edges.

"Paint" on the size adhesive and let dry. Apply the gold leaf. I cut the sheets to size to make it easier. You can also "roll" the dowels on the sheet for easy application.


Once you have gold leafed the dowels, you MUST seal them with a spray lacquer. The gold will tarnish if you do not complete this step.

Arrange the dowels in whatever pattern you choose. I used Epoxy to glue them to the panel.

I put 3 hinges on each screen. This is helpful to have an extra set of hands to help hold the screen as you apply the hinges. Hint: pre-drill pilot holes for the screws.


Total cost for materials:   $160.48

Later in the week I will post tutorials for the console, sconces, and floor cloth.

Thursday, November 6, 2014

One Room Challenge FINAL REVEAL


I can't believe the end arrived so quickly! A big THANK YOU to Linda from Calling it Home for creating this fun challenge. I began this with these parameters

1. I am in a rental house, so I had to work with the space as it is. NO LIGHT, and only 2 walls with doorways in each.
2. I have a LARGE Bookcase Secretary that had to remain in the room (there was no place else in this house for it to fit).
3. I did this on a VERY small budget. I spent a total of $325 in paint, material for the sconces, floor cloth, and screen. (Luckily I had furniture from my home and shop to source).


I DIY'ed the following:   Floor cloth, wall sconces, folding screen and art.
Please forgive the bad photography, I have NO natural light in this room.
All items were sourced from yours truly LIV Vintage.


The Floor Cloth


Styled Bookcase


DIY Sconce

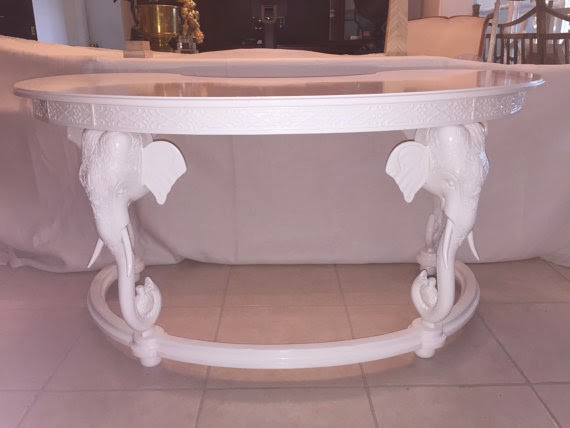
DIY Console and artwork


Remember this is where I started:


Please check out the FABULOUS 20 Original Participants, There is some unbelievable design happening there. And please be sure to look at the Linking Participants

Thursday, October 30, 2014

LIV Vintage WEEK 5

Unfortunately there is not a lot to show this week. It seems that everything will fall into place the final week (fingers crossed and a lot of cocktails).

I finished my screen. although it seems to need another panel.......


Found this lamp for my desk


Chose my desk chair and began painting some potential artwork


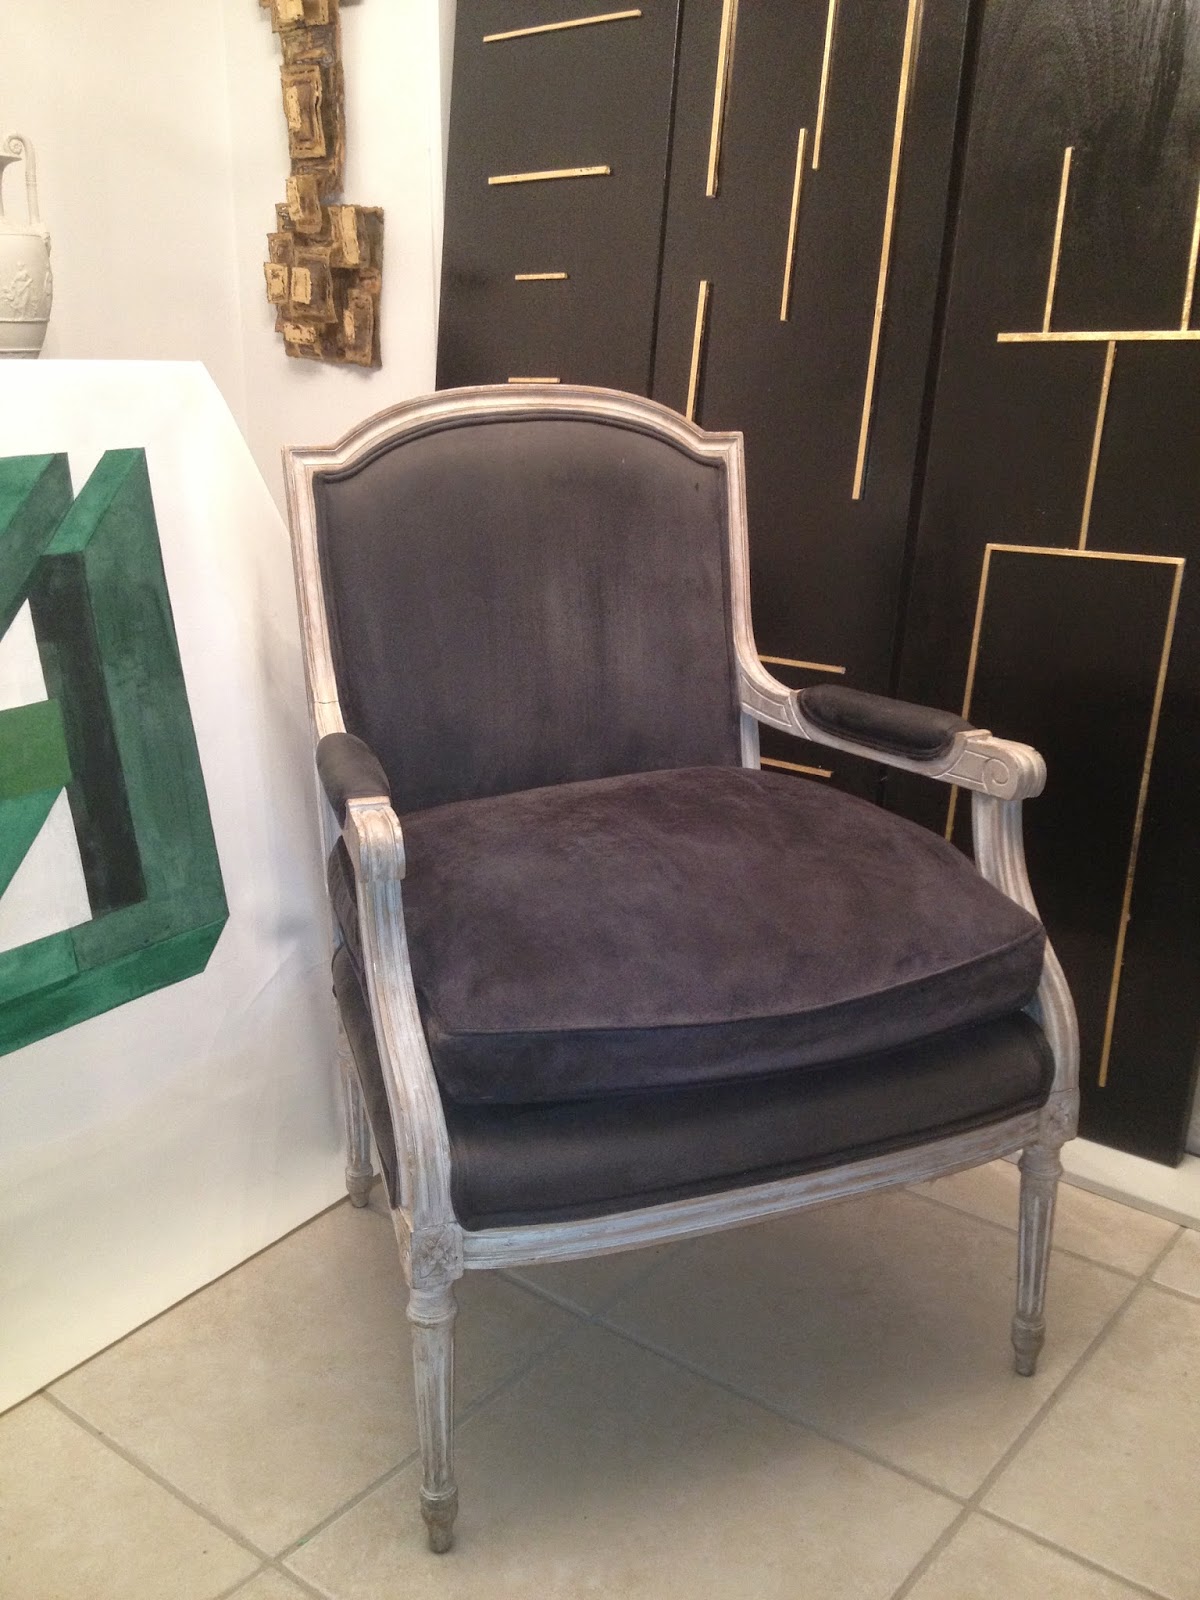
Black and white Louis XVI chair


Got the chandelier hung
Had to swag it from the original spot (rental house)


Hung this brutalist sculpture


Still to do:

Upholster stools
Finish sconces
Put final coat on the floor cloth
Style bookcase/ secretary
Style room
Find and hang art  (may have to do gallery style for LACK of a large fabulous piece of artwork)
Check out the other linking participants HERE 

And please look at the unbelievable progress made by the One Room Challenge Fabulous 20 

Tuesday, October 28, 2014

Designers Alphabeticaly C: Lorenzo Castillo


Madrid's Lorenzo Castillo design epitomizes how mixing antiques and modern makes for incredibly FABULOUS design!!! Named to Elle Decor's A list of designers, Lorenzo has an extensive background as a dealer, and designer. His store in Madrid is comprised of furniture and decorative items in lacquer, brass, steel, leather, marble combined in different ways, "as a review of classicism from a contemporary aesthetic."

Chinoiserie, Antiques, and Modern

His store in Madrid

Hotel

His residence in a 17th C former convent

David Hicks fabric, modern, classical
 Images via Elle Decor and Lorenzo Castillo